

This guide makes it easy to figure out door swing quickly. It helps your doors work right and follow the rules. You’ll learn simple ways to save time and avoid mistakes.
Knowing the door swing direction is key for safety and flow. It’s important for clearances and making sure doors are accessible. For outside doors, it also affects how well they keep out the weather.


This guide is for anyone who owns a home, likes to DIY, or works in construction. It covers how to check door swing, basic terms, tools, and measurements. You’ll also learn how to measure and choose hardware based on the door swing.
Follow a simple, hands-on guide. Start with quick definitions and then learn how to check the door swing. Next, you’ll learn how to measure and choose the right hardware for your door.
Key Takeaways
- Determining door swing prevents ordering the wrong slab or handing.
- Door swing direction impacts hardware, clearances, and ADA compliance.
- A few simple observations reveal hinge side and inswing vs outswing.
- Measure swing radius and clearances before placing furniture or thresholds.
- Exterior doors need extra attention for weatherstripping and thresholds.
how to determine door swing
Figuring out door handing is simple and quick. It helps avoid mistakes in installations, safety checks, and when ordering hardware. Here are some tips to help you identify door swing and ensure a proper fit.
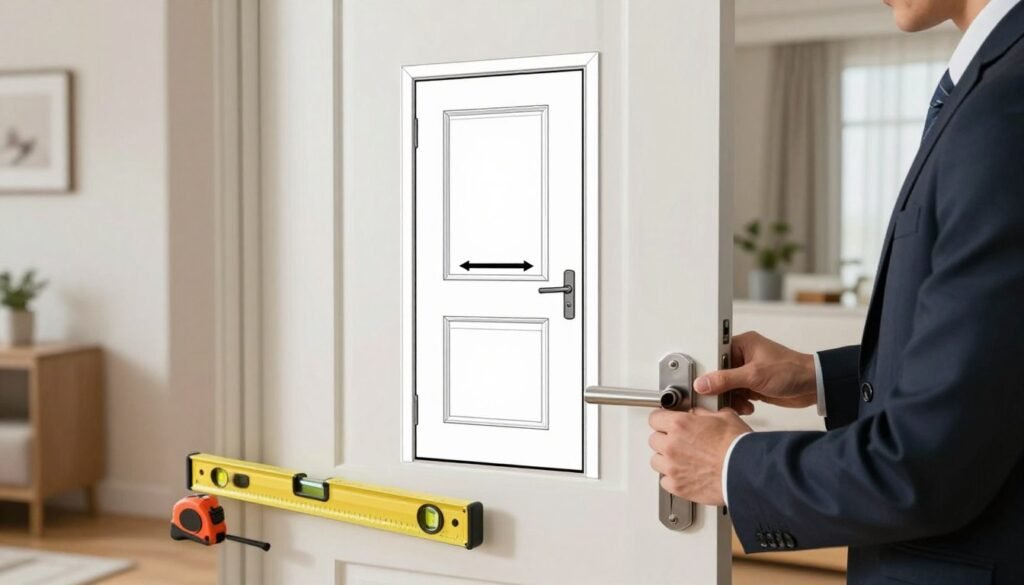
Why knowing door swing matters for installation and safety
Getting the swing right is key for proper alignment of hinges, strike plates, and deadbolts. If it’s wrong, you might need to reorder parts or adjust frames.
Building codes and fire rules require specific swings for safe exits. Interior doors often swing in for privacy and insulation. Exterior doors’ swing affects security, weatherproofing, and emergency exits.
Accessibility standards like ADA also play a role. The right swing ensures enough space for wheelchair access and safe movement in tight areas.
Common mistakes when identifying door swing
Many people assume hinge side without opening the door. But hidden hinges can trick you about the pivot points.
It’s easy to mix up left-hand and right-hand sides if you’re on the wrong side of the door. Always choose a reference side when checking door swing.
Contractors might mistake outswing doors by looking from the inside. Remember to note door stops, thresholds, and swing radius for furniture and traffic flow.
Tools and measurements you’ll need
Have a 25-foot tape measure, flashlight, pencil or tape, and a small level ready. These help mark hinge heights, check plumb, and measure clearances.
Optional tools include a digital angle finder or a smartphone app for swing arc mapping. Use your phone to take photos of hinge placement for remote consultations or part orders.
| Measurement | Why it matters | Typical range |
|---|---|---|
| Door thickness | Determines hinge size and mortise depth for most prehung units | 1-3/8″ to 1-3/4″ for interior; 1-3/4″ common for exterior |
| Hinge placement | Affects door balance and where strike plate mounts | Top hinge ~7″ from top; bottom hinge ~11″ from bottom; middle hinge centered |
| Backset | Ensures latch lines up with borehole and strike plate | 2-3/8″ or 2-3/4″ are standard |
| Clearance to walls/fixtures | Prevents collisions with furniture and maintains required maneuvering space | Minimum 32″ clear opening for egress; variable for ADA requirements |
| Swing radius | Helps plan for traffic flow and door overlap with adjacent elements | Depends on door width; add 18–24″ for swing allowance in tight spaces |
Understanding door swing terminology and types
Before you choose hardware or a prehung unit, learn the basics of door swing terms. Knowing hinge side, door path, and door names helps avoid mistakes. This knowledge is key for both work and shopping.
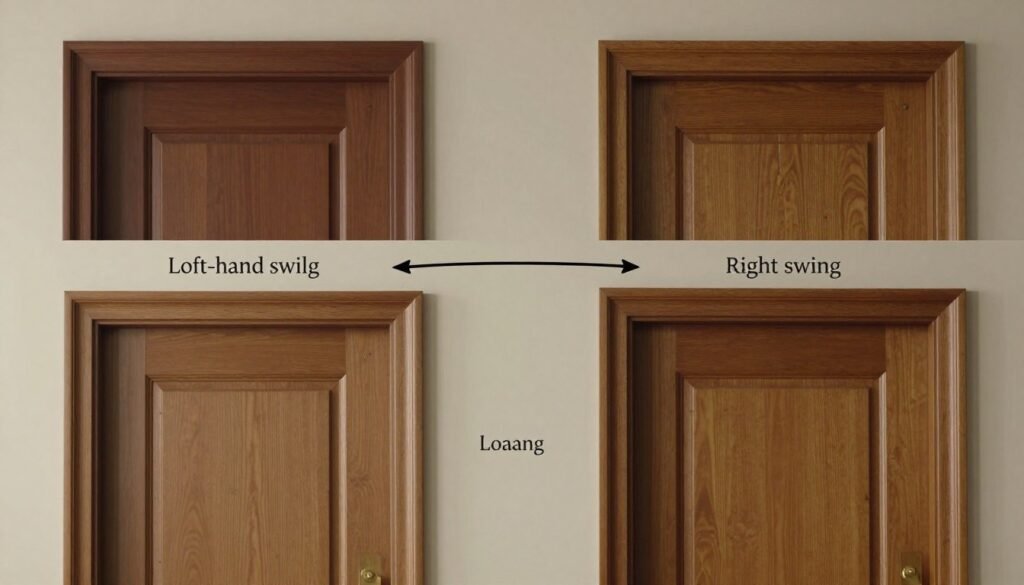
Definitions: left-hand vs right-hand, inswing vs outswing
Stand where you use the handle to find your reference side. Hinges on the left mean it’s a left-hand door. Hinges on the right make it a right-hand door. The swing direction is either inswing (into the room) or outswing (away from the room).
Some makers use “left-hand reverse” or “right-hand reverse” for outswing doors. Always note the reference side when specifying handing to avoid mix-ups.
Differences between interior door swing and exterior door swing
Interior doors focus on flow and privacy. Most bedroom and bathroom doors swing in to keep hallways clear and ensure easy access in emergencies.
Exterior doors consider weather, security, and threshold needs. Many U.S. homes have inward-swinging entry doors for better sealing and to work with storm doors. Some climates or designs prefer outswing for storm resistance or space.
How door swing terminology affects hardware and code compliance
Choosing the right hardware depends on correct handing. Locksets from Schlage, Kwikset, or Baldwin often list handed models. Strike plates must match the door’s swing direction. Some hinges are non-handed, while others and multipoint locks need specific handed options.
Codes and accessibility rules might require a certain swing for exits and accessible paths. Commercial doors often swing in the exit direction in crowded areas. For homes, check the IRC and local rules to ensure your door swing meets requirements.
| Aspect | Interior Doors | Exterior Doors |
|---|---|---|
| Typical swing | Inswing into room for privacy and hallway clearance | Often inswing for sealing; outswing used for specific designs |
| Primary drivers | Traffic flow, privacy, space-saving | Weather protection, security, threshold and storm door integration |
| Hardware concerns | Standard locksets and strike plates; fewer handed parts | Handed locksets, deadbolts, multipoint locks; correct strike alignment critical |
| Code and safety issues | Clearance and swing should not block exits or corridors | Egress direction, ADA clearances, and local code often determine allowed swings |
| Ordering note | Specify LH or RH inswing when ordering prehung units | Note LH/RH and inswing/outswing; include threshold and storm door needs |
Step-by-step method to identify the swing of a door
First, choose a clear reference side for identifying door swing. For rooms, use the interior side. For exterior doors, use the interior of the building. This makes your observations consistent and helps when recording handing for hardware or permits.
To determine the hinge side of the door, follow these steps:
- Stand facing the door from your chosen reference side at chest height. Look at the hinge location.
- If hinges are visible on your left, the door is left-hand. If hinges are visible on your right, the door is right-hand.
- For double doors, note which leaf is active. For pocket or sliding doors, record that they do not have a traditional swing of door and require different handling.
To check the direction of the latch and door swing path, follow these steps:
- Open the door slowly and watch the latch bolt. If the latch moves toward the interior as it opens, the door swings inward.
- Visualize the swing arc by tracing a semicircle from the hinge pivot to the outer edge. Check for obstructions like light switches, furniture, or narrow hallways.
- Measure the backset and bore. Common backsets are 2-3/8″ or 2-3/4″. Confirm the strike plate will align with the chosen swing and handing.
- Note special hardware such as spring hinges or pivot systems. Those can change handing behavior, so consult the manufacturer when necessary.
Video-friendly tips for demonstrating door swing to others:
- Position the camera on your chosen reference side at chest height. Film the hinge edge, handle edge, and the latch movement in one continuous shot.
- Use masking tape labels on the hinge edge and face edge. Speak clearly: “hinges on left = left-hand” while pointing to the tape.
- Use slow-motion for fast movements and overlay simple text showing LH/RH and inswing/outswing. Show tape measure readings for backset and clearance so viewers can replicate measurements.
Follow these steps when identifying door swing and when you need to explain how to determine door swing to a client or installer. Keep notes on reference side, hinge location, latch direction, and any special cases for a complete record.
Door swing calculation and practical considerations for projects
Before you start, do a quick door swing calculation. This avoids costly changes later. Measure from the hinge line to the outer edge to find the swing radius. Then, map a quarter-circle path to check for conflicts with walls and furniture.
Measuring clearances and swing radius for furniture and traffic flow
Measure from the hinge center to the far edge of the door. This gives you the swing radius. For standard widths like 30″, 32″, or 36″, add space for moving around. Use a pencil or tape to mark the quarter-circle on the floor.
Check the handle clearance from walls and fixtures. Leave about 3–4 inches for knobs and levers. In hallways and near stairs, choose a swing that keeps traffic smooth.
Adjusting for threshold, weatherstripping, and exterior door swing
Exterior doors need special threshold planning for water and sealing. Outswing doors might need a recessed threshold or specific flashing. Inswing doors use perimeter compression seals, while outswing doors use sweeps and stops.
Match weatherstripping details with the door swing direction. This ensures seals compress correctly. For extra protection, consider multipoint locks and storm doors that match the main door’s handing.
Selecting hardware and hinges based on door swing direction
Choose hinge type based on installation. Standard butt hinges are non-handed but must be installed correctly. Some hinges, like spring hinges, may be handed or need orientation notes.
When picking hardware, confirm handing with manufacturers like Schlage or Kwikset. Panic devices, closers, and automatic operators have specific needs for commercial settings.
Choose finishes that match the door’s use. For exterior doors, go for corrosion-resistant hardware and weather-rated finishes. For interior doors, select ball-bearing hinges and higher weight ratings for durability.
Conclusion
In this guide, you learned how to easily figure out door swing. Start by picking a reference side, usually the inside. Check which side the hinges are on to tell left from right. Open the door to see if it swings in or out.
Take important measurements like backset and swing radius. These steps help you quickly and accurately identify door swing in any room or entrance.
Knowing the door swing is key. It helps you avoid buying the wrong parts and ensures hardware fits right. It also keeps your space safe and functional.
Use tools and videos to document the door’s handing for suppliers or installers. This way, you avoid delays and extra costs.
If you’re not sure, take photos of both door sides with hinges and handle. Record measurements and check manufacturer guides from Schlage, Kwikset, or Baldwin. For U.S. projects, follow IRC and ADA rules for safety and accessibility.
Always double-check door handing with the manufacturer before buying or installing. This step is important for a smooth process.
