
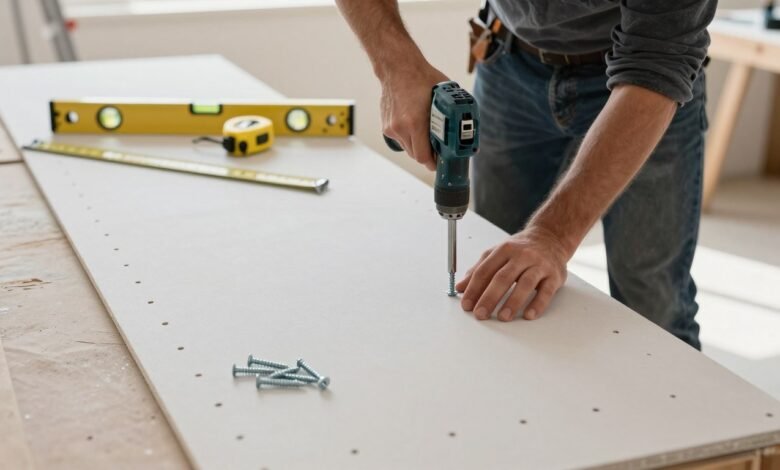
Installing drywall right begins with a simple question: how many screws do you need per sheet? This question is key for a strong, code-compliant surface. This article is for contractors, carpenters, and DIYers to plan confidently.
We look at standard sizes like 4×8, 4×10, and 4×12. We also talk about stud and joist spacing at 16″ and 24″ on center. We cover wall and ceiling differences, screw types and lengths, and spacing best practices.


Our advice follows standards from the International Building Code (IBC), United States Gypsum (USG), and National Gypsum. We also share trade practice notes from experienced contractors. You’ll learn how to calculate screws per sheet and what changes counts, like insulation and local codes.
Key Takeaways
- Determine how many screws per sheet of drywall by panel size and stud spacing before starting a job.
- Optimal screws per drywall board differ for walls versus ceilings; ceilings often need closer spacing to prevent sag.
- Follow manufacturer and IBC guidance for drywall installation screws per sheet to meet code and reduce rework.
- Proper screw placement for drywall—distance from edges and correct depth—improves joint finishing and longevity.
- Account for extra screws for waste, damaged panels, and any special substrates like resilient channels or metal studs.
how many screws per sheet of drywall
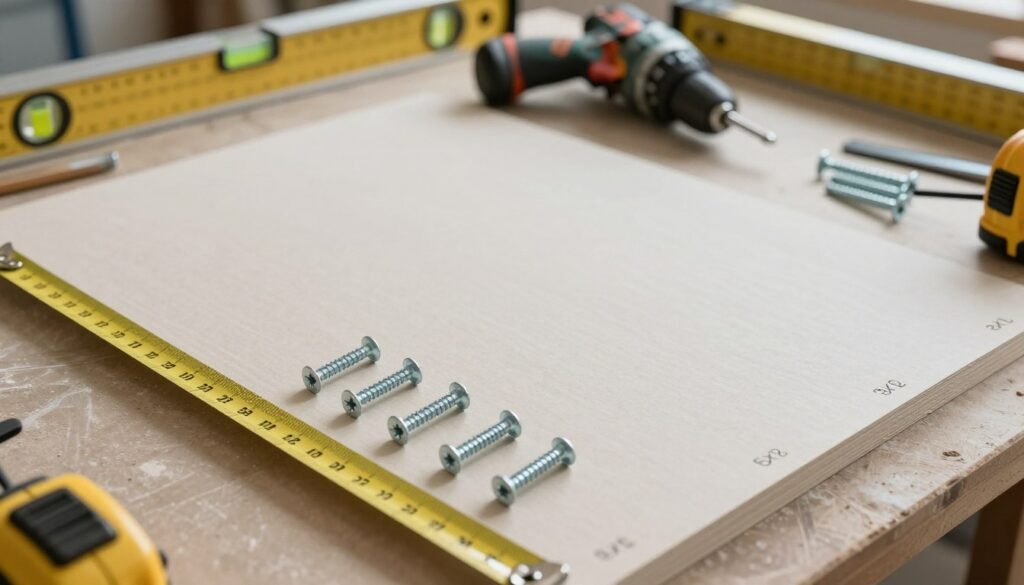
This section answers the core question and sets the scope for common jobsite assumptions. “Per sheet” means standard gypsum panels, usually 4×8, 4×10, or 4×12, fastened to framed walls and ceilings. Calculations assume studs or joists at 16″ or 24″ on center and counting screws where each framing member meets the panel edge and field.
Understanding the primary question and scope
Contractors often wonder how many screws per sheet of drywall to avoid shortages or waste. The orientation of the panels is important. Horizontal panels touch more studs than vertical ones on many layouts. Ceiling work and higher finishing levels raise screw totals. Use these baseline assumptions when calculating screws for a project.
Why an exact count matters for durability and code compliance
Proper screw distribution keeps panels flat, prevents edge and corner cracks, and reduces the risk of screw pops. Manufacturers and local building codes set maximum spacing and fastening patterns for safety and warranty coverage. Overfastening can tear paper and ruin finishing. Underfastening leads to sagging and joint failure.
Typical screw counts for standard panel sizes
For walls with 16″ on-center studs, a horizontally installed 4×8 panel commonly uses about 32–35 screws with 8″ edge spacing and 12″ field spacing. Ceilings or 24″ O.C. framing push that number higher. A typical range for 4×8 panels runs roughly 28–48 screws. Larger 4×12 panels scale up proportionally, often needing 42–66 screws depending on stud spacing and application.
These figures act as starting estimates before detailed calculating screws needed for drywall in a specific room. Later sections provide step-by-step methods to refine totals and explain drywall screw quantity per panel for various layouts and finishing levels.
Drywall screw spacing best practices for walls and ceilings
Getting the drywall screw spacing right is key. It keeps panels flat, joints stable, and finishes smooth. Always follow the manufacturer’s guidelines and local building codes. Adjust the spacing based on stud or joist layout and the room’s use.
Recommended spacing along studs and joists
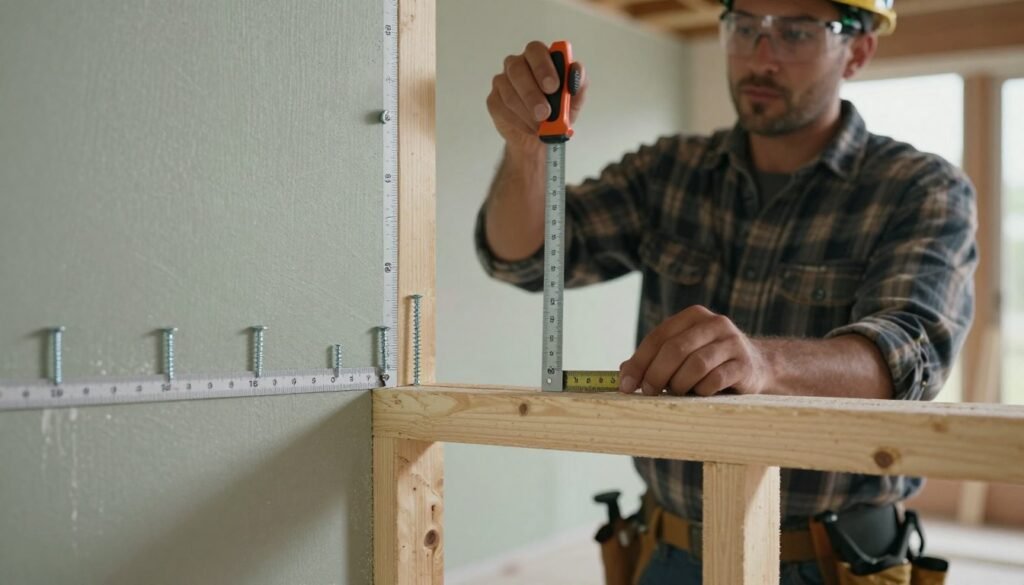
For walls on studs 16 inches apart, fasteners should be 12 inches apart in the field and 8 inches along edges. If studs are 24 inches apart, tighten the spacing to 8–12 inches in the field to avoid sagging.
Ceilings need closer spacing. Use an 8-inch pattern in the field when joists are 24 inches apart. For high-stress areas like garages or busy rooms, space screws 6–8 inches across both edges and field.
Differences between wall and ceiling patterns
Ceilings face more load due to gravity, so they need a tighter screw pattern. A common ceiling layout is 6–8 inches at the edges and 8–12 inches in the field, depending on joist spacing.
Walls can handle wider spacing when studs are 16 inches apart. If panels run across studs, screw at every stud for a secure hold.
Impact of spacing on joint finishing and tape bonding
Consistent spacing helps seams stay tight, aiding tape and compound bonding. Proper screw placement for drywall reduces flex that can cause hairline cracks after finishing.
Spacing screws too far apart puts stress on tape and joint mud. Avoid overdriving screws near seams to prevent tearing the paper face and weakening adhesion. Keep recommended clearances from edges and seams.
| Location | Typical Stud/Joist O.C. | Edge Spacing | Field Spacing | When to Use |
|---|---|---|---|---|
| Interior walls | 16″ O.C. | 8″ O.C. | 12″ O.C. | Standard living spaces, bedrooms |
| Walls on 24″ studs | 24″ O.C. | 8–10″ O.C. | 8–12″ O.C. | Exterior or long span walls |
| Ceilings (residential) | 16″ O.C. or 24″ O.C. | 6–8″ O.C. | 8–12″ O.C. | Living rooms, kitchens |
| High-stress areas | 16″ or 24″ O.C. | 6″ O.C. | 6–8″ O.C. | Garages, workshops, commercial use |
| Perpendicular panel runs | Varies | Match framing | Fasten at every member crossed | Long panels, continuous runs |
Calculating screws needed for drywall — quick formulas and examples
Simple math can help you figure out how many screws you need for drywall. This guide shows a straightforward way to do this. It helps both professionals and DIYers get the right amount without worrying.
Step-by-step method to calculate screws per room
First, measure the room and find the total square footage of walls and ceilings. Choose the size and orientation of your panels, like 4×8 horizontal on walls.
Next, note the spacing of studs or joists (16″ or 24″ O.C.) and the screw pattern (edges 8″ O.C., field 12″ O.C.).
Then, divide the total square feet by the panel area to find the number of panels. Round up to the nearest whole number.
For each panel, count how many framing lines it crosses. Estimate screws per stud line based on your spacing. Multiply screws per panel by the number of panels, then add 10%–15% for waste.
Example: 4×8 panel on a wall with 16″ O.C. studs
The panel area is 32 sq ft. A 4×8 panel crosses five studs on a 16″ O.C. layout. Use field spacing of 12″ O.C. along each stud line for about 2–3 screws per line. Edge spacing at 8″ O.C. adds roughly 6–8 screws per long edge.
Estimate screws per panel: (5 stud lines × 3 field screws) + (2 long edges × 7 edge screws) = 15 + 14 = 29. Round up to 32–36 to cover extra fastenings and seams.
Example: 4×12 panel on a ceiling with 24″ O.C. joists
The panel area is 48 sq ft. With 24″ O.C. joists, a 4×12 sheet crosses several joist lines. Use 8″ O.C. on ceilings: each joist line along the 4′ width gets about 6 screws (every 8″ over 48″). Multiply by the number of joist lines intersected to get total per panel.
Typical per-panel range: 50–66 screws depending on joist count. Use the lower end for fewer joists and the higher end when extra blocking or resilient channels are present.
Numeric replication worksheet
– Total room area ÷ panel area = panels needed (round up). – Panels needed × chosen screws per panel = base screw count. – Base screw count × 1.10 = purchase amount with 10% waste. Increase to ×1.15–1.20 for high waste projects or novice installers.
Accounting for waste, extras, and damaged panels
Add 10% for normal scrap, misdrives, and trims. For beginners or jobs with many cutouts, use 15%–20%. Include extra fasteners for blocking, hanger attachments, resilient channels, and specialty trims when calculating drywall installation screws per sheet and overall drywall screw quantity per panel.
Use this process to produce a clear estimate of drywall installation screws per sheet. Make sure your calculations match the job conditions and local standards.
Proper screw placement for drywall to prevent cracks and pops
Correct screw placement for drywall keeps finishes smooth and reduces late-stage repairs. Follow simple distances, control depth, and use consistent technique to stop cracks and popping nails. These steps tie into drywall screw spacing and the overall count of optimal screws per drywall board.
Distance from panel edges and seams
Keep screws at least 3/8″ from panel edges. Some manufacturers and finish levels call for 5/8″ or more. Never place fasteners in the taped joint area. Fasten only to framing members so seams stay stable and joint compound can bond properly.
How screw depth affects paper and gypsum integrity
Drive the screw head so it makes a slight dimple in the paper without tearing it. If the paper rips, the holding power drops and texture will fail. If the head sits proud, bumps show through paint and joint compound may crack. Use a drywall screw setter or depth-adjusting screw gun to get repeatable results.
Techniques to avoid overdriving and underdriving screws
- Set the nosepiece or depth collar on the screw gun and test on scrap drywall before starting a wall.
- Train crew to watch for paper tearing and proud heads; stop and correct any problem fastener immediately.
- For hand-driven work, use countersink bits or guide collars and check depth frequently.
- Place screws following recommended drywall screw spacing and plan optimal screws per drywall board to maintain panel stability without over-fastening.
Choosing drywall installation screws per sheet: types and lengths
Choosing the right fastener is key for a smooth finish and lasting results. This guide covers thread types, lengths, and when to use corrosion-resistant screws in wet or outdoor areas.
Coarse-thread vs fine-thread
Coarse-thread screws fit well with wood studs. Their deep threads help avoid stripping. Fine-thread screws are better for metal studs. They have tighter threads that hold well without slipping.
Brands like Grip-Rite, Senco, and HILTI offer both types. Always check the stud material on the screw label to avoid problems.
Recommended screw lengths
For 1/2″ drywall on wood studs, use 1 1/4″ coarse-thread screws. For 5/8″ panels, go with 1 5/8″ coarse-thread screws. On metal studs, 1 1/4″ fine-thread works for 1/2″ drywall. For 5/8″ drywall, choose 1 1/4″–1 5/8″ fine-thread screws.
Make sure screws embed at least 3/8″ into the framing. This ensures the right fit without overdriving.
Corrosion-resistant and specialized screws
In damp places like bathrooms and basements, use galvanized or stainless steel screws. They prevent rust and keep screws holding strong in humid areas.
For cement board or exterior gypsum, pick screws made for those materials. FastenMaster and GRK offer screws for exposed and special uses.
Fire-rated assemblies need screws that meet ASTM and manufacturer standards. Always follow the assembly instructions to maintain performance where ratings are critical.
| Application | Typical Screw Type | Common Length | Notes |
|---|---|---|---|
| 1/2″ drywall to wood studs | Coarse-thread (Type S) | 1 1/4″ | Good bite into wood; standard residential use |
| 5/8″ drywall to wood studs | Coarse-thread (Type S) | 1 5/8″ | Extra embedment for thicker panels |
| 1/2″ drywall to metal studs | Fine-thread (Type W/GW) | 1 1/4″ | Designed for light-gauge steel; reduces stripping |
| 5/8″ drywall to metal studs | Fine-thread (Type W/GW) | 1 1/4″–1 5/8″ | Choose by stud thickness; confirm embedment |
| High-moisture or exterior | Galvanized or stainless | Per panel and substrate | Corrosion-resistant drywall screws prevent rust and staining |
| Cement board / exterior sheathing | Specialty coated or stainless | Per manufacturer | Use screws rated for the substrate and exposure |
| Fire-rated assemblies | Manufacturer-specified | Per assembly instructions | Must meet ASTM and fire-resistance requirements |
screw pattern for drywall sheets and layout examples
Plan your layout before lifting any panel. Mark stud and joist lines on the drywall. Snap chalk lines for each row of screws to stay straight.
For speed and uniformity, use a standard grid. Screws line up over studs or joists with consistent spacing. Field spacing is 12″ on center, and 8″ on center at edges.
For less stress, use a staggered pattern. Offset screws on adjacent stud lines. This is good for high-vibration areas or specialty framing.
Keep screws away from seams and corners. Avoid fasteners on joints. Place screws 3/8″–3/4″ from seams for tape and compound.
In inside corners, fasten panels tight to framing. Follow finishing practice for corner bead and compound. Outside corners with metal bead should follow the bead manufacturer’s instructions.
Set up quickly with simple tools. Measure and mark edge spacing with a tape measure. Snap chalk lines for every screw row. Use a drywall screw stopper to control depth.
Follow a checklist for consistent alignment:
- Mark framing lines on each panel edge before lifting
- Snap chalk lines for field rows at chosen spacing
- Pre-mark screw points along edges and fields
- Use a screw stopper to maintain depth
- Check alignment at panel seams before final fastening
Use the table below to compare common patterns, their typical spacing, and best use cases. Match the pattern to your project needs for reliable finishes and long-term performance.
| Pattern | Typical drywall screw spacing | Best use case | Notes on proper screw placement for drywall |
|---|---|---|---|
| Standard grid | 12″ O.C. field, 8″ O.C. edges | General walls and ceilings | Align screws directly over studs; keep 3/8″–3/4″ from seams |
| Staggered pattern | 12″ O.C. field staggered, 8″ O.C. edges | High-vibration areas, specialty installs | Offset rows so screws on adjacent studs do not line up |
| Butt joint reinforced | 6″–8″ O.C. at ends, standard spacing elsewhere | Panel ends and butt joints | Require backing or blocking; tighter spacing prevents joint movement |
| Corners with corner bead | Per bead manufacturer’s guidance for bead fasteners | Outside corners with metal bead | Secure bead per instructions; place drywall screws to hold panel tight to framing |
Drywall screw quantity per panel: factors that change the count
Figuring out how many drywall screws you need starts with a few basic things. The size of the panel and how far apart the studs are are key. Also, whether you’re working on a ceiling or a wall can change things.
Panel size, stud spacing, and ceiling vs wall considerations
Bigger panels need more screws because they span more framing. For example, a 4×12 sheet will need more screws than a 4×8. If studs are farther apart, like 24″ on center, you might need to screw closer together or add more screws to avoid sagging.
Ceilings need more screws than walls because gravity makes them more prone to sagging and screws popping out. Remember this when figuring out how many screws you’ll need for ceilings.
Local code variations and contractor preferences
Local building codes might require more screws or a specific pattern than what the manufacturer suggests. Always check local or state rules before you start.
Contractors might choose to use more screws in places where lots of people walk or in rental properties. This choice can affect how many screws you’ll need, impacting your estimates and bids.
How insulation, backing, or resilient channels affect screw needs
Resilient channels create a gap between the drywall and the framing. Screws have to go through the channel and into the framing, which can make them longer and increase the count. Sometimes, installers add extra screws to make sure the channels and panels are secure.
Insulation, thicker sheathing, and extra blocking for cabinets or fixtures mean you’ll need longer screws and more fasteners. Make sure to plan for these extra needs so your estimate for screws per panel is accurate.
| Condition | Typical impact on screw count | Practical guidance |
|---|---|---|
| 4×8 panel on 16″ O.C. studs (walls) | Standard baseline count | Use manufacturer spacing; estimate optimal screws per drywall board ~ 28–32 |
| 4×12 panel on 16″ O.C. studs (walls) | Higher count due to extra stud intersections | Add 6–10 screws versus 4×8 to account for additional edges |
| Ceiling installation | Increased count to prevent sag | Reduce spacing to 6″–8″ O.C. at edges and field; increase total per panel by 20–30% |
| 24″ O.C. stud spacing | More screws needed or closer spacing | Consider 6″–8″ O.C. along supports to maintain rigidity |
| Resilient channels | Requires specific screws and possible extra fasteners | Use manufacturer-recommended screws that penetrate channel and framing; include channel fasteners in totals |
| Backing for cabinets or heavy fixtures | Additional localized screws and blocking | Estimate extra fasteners at each backing location; add per-panel allowances if backing is frequent |
Conclusion
Knowing how many screws to use per sheet of drywall is key to a strong and smooth finish. Edge screws go closer to seams, while field screws follow the stud or joist spacing. The number needed varies by panel size and stud spacing.
Start by counting the panels and decide on the spacing based on the framing. Consider if it’s a wall or ceiling. Then, calculate screws per panel and multiply by the number of panels. Add 10%–15% for waste and extras. This method helps keep purchases right and keeps crews on track.
Follow the manufacturer’s instructions and local building codes. Use coarse-thread screws for wood and fine-thread for metal. Choose the right length and go for corrosion-resistant fasteners in moist areas. Use a drywall screw gun to control depth and avoid defects.
Check the framing spacing and panel orientation. Measure panels for accurate counts. Buy a 10%–15% contingency for a smooth installation. Proper planning, careful driving, and the right fasteners reduce problems and extend the surface’s life and look.
