
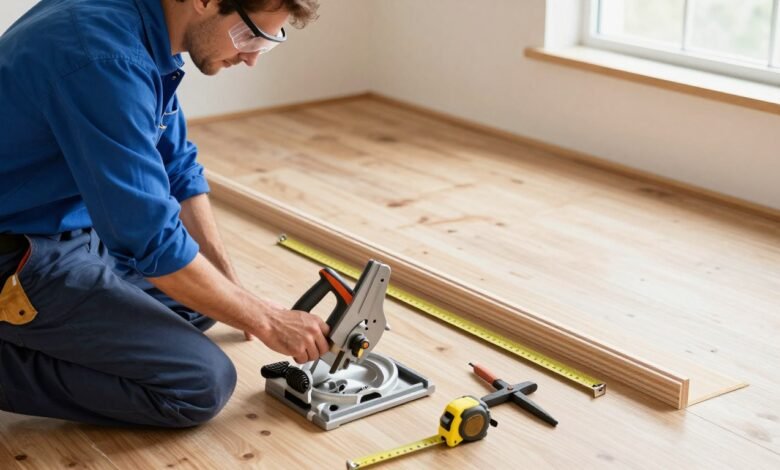
Installing quarter round is a simple project that makes a room look polished. This guide helps homeowners and DIYers get professional results without needing molding experience.
This guide covers choosing materials and tools, preparing the surface, measuring, and cutting. You’ll learn to attach the quarter round using brad nails or adhesive. It also shows how to finish with caulking, filling nail holes, and painting.


Expect to spend $30–$100 on materials for a 12′ x 12′ room. Tool rental for a miter saw or brad nailer costs $20–$60 per day. The installation usually takes 2–6 hours, depending on your skill and prep time.
For safety, wear safety glasses, hearing protection, and a dust mask. Work in a well-ventilated area. Use stable sawhorses or a workbench and protect floors with drop cloths.
Key Takeaways
- how to install quarter round step-by-step for beginners with no prior molding experience.
- Materials and tools are affordable; expect modest costs and short rental fees for specialty tools.
- Measure and cut carefully; use miter cuts for outside corners and coping for tight inside corners.
- Secure molding with brad nails or adhesive, then caulk and fill for a seamless finish.
- Follow basic PPE and workspace prep to keep the project safe and tidy.
how to install quarter round
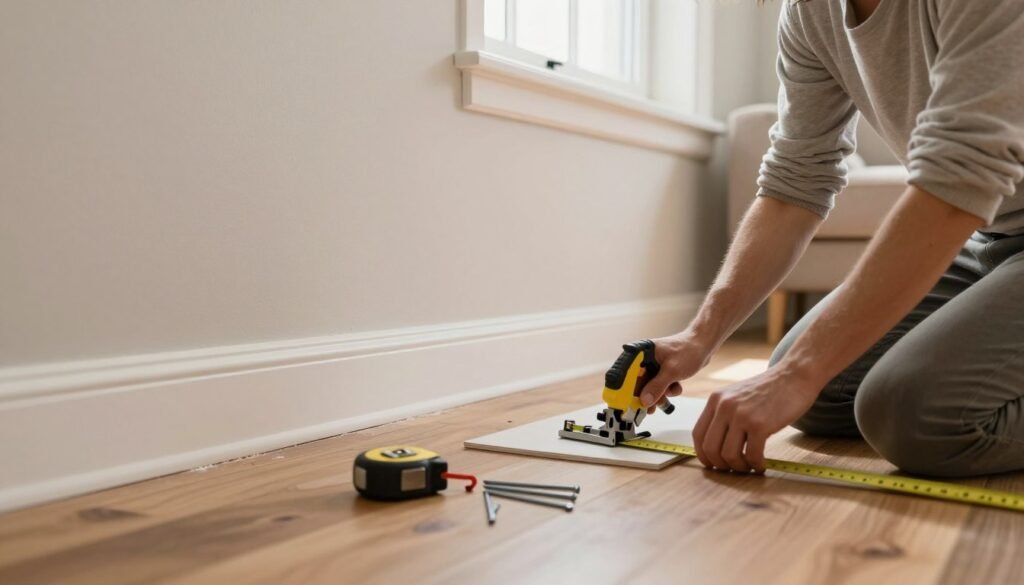
Quarter round molding is a small, curved piece that covers the gap where baseboard meets flooring. It’s made from materials like pine, poplar, and PVC. Sizes range from 5/8″ to 1″ and hides gaps and imperfections in floors.
It’s not just for floors. You can also use it around cabinets and stair noses for a clean finish. It’s practical, keeping debris out of gaps and making room edges look neat.
Installing quarter round is a great first project for beginners. It’s easy to fix mistakes, and you learn important skills. You can find the materials at stores like Home Depot and Lowe’s.
Learning to install quarter round has many benefits. You get to practice using tools and build confidence. These skills are useful for bigger projects later on.
Always wear safety gear when working on small jobs. This includes safety glasses, hearing protection, and a dust mask. Keep your fingers away from blades and use push sticks for safety.
It’s important to be careful with nail guns. Never point it at yourself and always keep the safety on. Follow the guidelines for your tool, whether it’s from DeWalt, Makita, or Ryobi.
Before you start, make sure your workspace is ready. Move furniture, vacuum, and cover the floor. Good lighting and a stable work area are key.
Mark stud locations on the baseboard before you begin. Keep cleaning rags, tape, and a utility knife handy. These steps help you work faster and avoid mistakes when installing quarter round.
Tools and materials needed for quarter round installation
Start by making a list of tools and materials for smooth quarter round installation. This guide covers the essentials, common materials, and extras that make the job easier and look better.
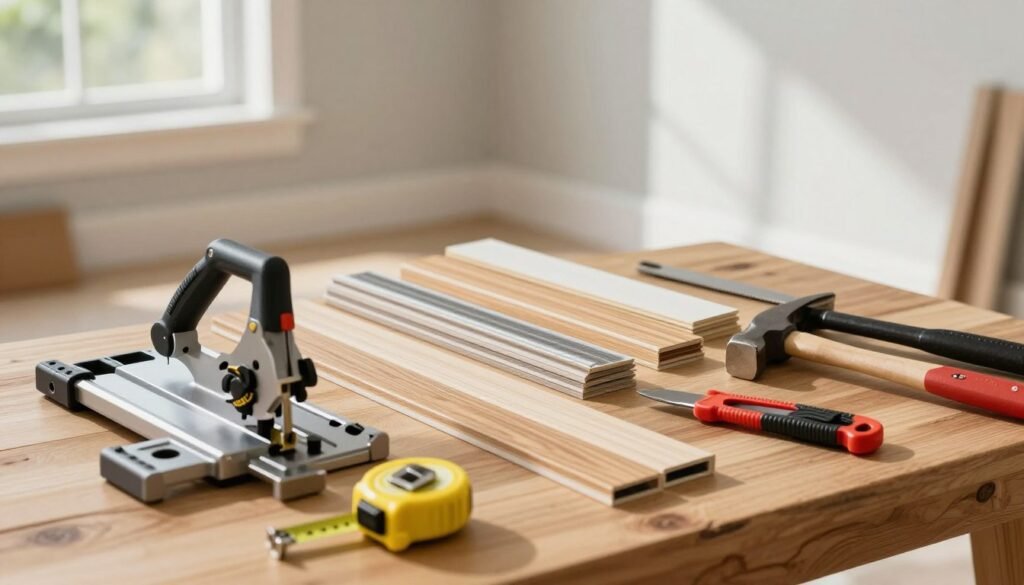
Essential tools for accurate cuts and fit
A compound miter saw is the best for quick, precise 45° cuts. If you don’t have one, a miter box and handsaw will do the job.
For inside corners, use a coping saw. A 25-foot tape measure and pencil are for layout. A speed square or combination square checks angles.
Choose a brad nailer or finish nail gun for secure fastening. You’ll need a compressor or cordless unit for pneumatic tools. Without power tools, a hammer and 1-1/4″ to 1-5/8″ finish nails work.
Keep a utility knife, block plane, or sanding block for small adjustments. A caulking gun is needed for acrylic latex caulk. Safety glasses, hearing protection, and a dust mask are essential.
Materials list: molding types and finishing supplies
Choose quarter round material that matches your finish and environment. Pine and poplar are good for painting. Oak and maple are best for stain and varnish. MDF is great for a smooth painted surface. PVC or vinyl is best for bathrooms and damp basements.
Use 1-1/4″ brads for most painted trims or 1-5/8″ finish nails for thicker stock. Stainless or galvanized nails are good where moisture is a concern.
Construction adhesive like Liquid Nails is needed for weak nailing substrate. Use acrylic latex caulk to seal seams. Choose a wood filler from Minwax or Elmer’s. Finish with primer, paint or stain, and a coat of polyurethane. Sandpaper in 120–220 grit and a tack cloth finish the prep work.
Optional items that speed installation and improve finish
Speed squares and a small protractor help with odd-angle walls. Clamps and spring clamps make glued miters stronger while the adhesive sets.
A nail set and a finish nail cap kit hide fasteners and speed up touch-ups. Backer rod fills large gaps before caulking. A pry bar, trim puller, and an oscillating multi-tool ease removal of old trim and clean the substrate.
- Best practices for quarter round installation include having the right saw, measuring twice, and using both nails and adhesive where needed.
- Follow this quarter round installation guide to plan materials, match molding to finish, and reduce callbacks.
- For first-timers, a diy quarter round installation goes quicker with clamps, a good miter saw, and proper safety gear.
Preparing surfaces and measuring for accurate quarter round placement
Clean, steady surfaces and precise measurements are key for a professional look. Inspect walls, baseboards, and floors before you start. Small prep steps can save a lot of time.
How to measure walls and calculate molding lengths
Use a 25-foot tape measure for each wall. Round up to the nearest 1/8″. Add 10–15% for waste and miscuts.
Standard molding comes in 8′ and 16′ lengths. Choose lengths that reduce visible joints.
Label each piece of molding as you go. This prevents mix-ups. Measure from the finished face of the molding. This ensures joints meet flush when installed.
Assessing floor and baseboard conditions before installing quarter round
First, check for loose baseboards and reattach or repair them. Nailing quarter round to a loose base can cause the trim to shift later. Note any gaps between the baseboard and floor for planning.
Look for high and low spots on the floor. Mark transitions and door jambs that need small coping pieces or returns. Knowing where floors are uneven helps you choose the right method for a tight fit.
Tips for accounting for inside and outside corners
Inside corners can be coped or mitered. Coping is better for walls that have settled or shifted. Miter both pieces at 45° when walls are true and joints are easy to reach.
For outside corners, use back-to-back mitered joints with precise 45° cuts or a pre-made corner block. Measure to the finished face for correct molding lengths at corners.
Plan for wall irregularities by allowing time for scribing or minor trimming. These adjustments keep seams tight and reduce the need for heavy caulking during the quarter round installation tutorial.
Cutting and joining quarter round molding
Cutting clean pieces and joining them correctly is key to a great trim job. Follow simple steps for neat corners and tight seams. Here are some tips to help you learn how to install quarter round.
How to make accurate miter cuts with a miter saw
Set the miter saw to 45° for standard inside and outside corners. Place the finished face down on the saw table. This ensures the visible edge sits correctly after installation. Cut a test piece from scrap to confirm blade alignment before cutting molding for the room.
Use a stop block or mark repeated lengths to speed multiple identical cuts. For outside corners, add short return pieces of about 1/2″–1″ to tuck into the baseboard for a finished look.
Coping vs mitering: when to use each method for inside corners
Choose between coping and mitering based on wall movement and fit. Mitering is fast and works well on straight, stable walls and outside corners. Cut both pieces at complementary 45° angles for a neat corner when surfaces are true.
Coping gives a tighter fit where walls shift or have small imperfections. Cut one piece square and cope the profile of the mating piece with a coping saw, then file to fit. Work slightly oversized and pare back to achieve a snug joint.
Techniques for tight seams and dealing with uneven floors
Shave edges with a hand plane or sanding block for a tighter seam when pieces are oversized. When floors are uneven, drive longer nails into the baseboard and use painter’s caulk for hairline gaps.
For larger voids, use a backer rod or insert a thin packer shim under the molding before nailing. Stagger seams away from doorways and visible spots, and consider scarf joints by cutting opposing 45° angles to create a longer glue surface for joins.
Quick quarter round installation tips
- Cut test scraps to check fit and finish before final cuts.
- Keep a coping saw and file handy for inside corners that need fine tuning.
- Use flexible acrylic caulk in movement-prone areas and backer rod for deep gaps.
- When joining lengths, stagger seams and use scarf joints for strength and less visibility.
Installing quarter round: step-by-step DIY quarter round installation
Begin by fitting each piece around the room without nails. This ensures a perfect fit before you secure it. Mark where to nail the baseboard so you hit the backing, not the floor.
Place the molding with the rounded side facing out. The flat side should touch both the baseboard and the floor.
Best practices for nailing and spacing fasteners
For painted trim, use 18-gauge, 1-1/4″ brads. For dense hardwood, opt for 15–16 gauge, 1-5/8″ finish nails. Space nails 12–16 inches apart, but closer near corners and doorways.
Angle nails into the baseboard’s thicker part for better grip. Use a nail set to countersink each fastener slightly. This helps avoid splitting and prepares for filler.
Using adhesive and brad nails for secure attachment
Apply construction adhesive to the molding’s back when baseboards are hollow. Press it firmly in place and secure with brad nails while the adhesive dries. For vinyl or PVC, use the recommended adhesive or caulk and nails if needed.
Don’t rely solely on adhesive in busy or damp areas.
Finishing touches: caulking, filling nail holes, and painting
Fill nail holes with painter’s putty or wood filler. Use stainable filler for stained trim and paintable filler for primed pieces. Apply a bead of caulk along the top edge and seams, then smooth it out.
Lightly sand the filled and caulked areas with 180–220 grit. Wipe with a tack cloth, prime bare wood or MDF, and then paint or stain.
Clean your workspace, remove dust and adhesive, and put back any removed outlet covers or doorstop trim. Following these steps will give you a neat, lasting finish.
Common problems and quarter round installation tips
Small issues in trim work can show up fast. This guide helps fix common problems, deal with uneven walls, and keep your trim looking great.
How to fix gaps, warped molding, and miscuts
For small gaps, use paintable acrylic caulk. Smooth it out and paint over when dry. For stained areas, match the color with wood filler or stainable caulk.
Warped molding can be fixed by moistening the concave side and clamping it. If it doesn’t work, replace it with kiln-dried wood, MDF, or PVC.
Short pieces can be fixed with a scarf joint or a butt joint. Cut long pieces back to avoid messy seams.
Troubleshooting uneven baseboards and irregular walls
Inside corners can be fixed with coping. It hides mismatches and makes tighter joints than mitering.
For very uneven walls, scribe the molding. Use a compass to trace the wall, then cut the trim to fit perfectly.
Large gaps under quarter round can be filled with thin shims. Use construction adhesive and finish nails to hold them in place.
Loose baseboards need to be fixed first. Use longer nails or adhesive before installing quarter round. This prevents future gaps.
Maintenance tips to keep quarter round looking professional
Clean quarter round regularly with a microfiber cloth or vacuum. This stops dirt from making gaps look worse.
Re-caulk every year or when cracks appear. Use paintable caulk for painted trim and stainable for stained work.
Touch up paint or stain with small brushes to hide scuffs. In wet areas, use PVC or painted MDF and improve air flow.
Check nail holds yearly. If loose, add new nails or adhesive. Regular checks are key to maintaining quarter round.
Conclusion
Installing quarter round is a simple, affordable way to improve your home’s look. It makes flooring transitions look better and covers up gaps at baseboards. You’ll need basic tools like a miter saw and a brad nailer. A clear measuring routine and careful finishing with caulk and paint are key.
This guide shows that patience and prep are more important than skill. You can achieve professional-looking results even if you’re a beginner.
Here are some final tips to avoid mistakes: measure accurately and dry-fit each piece before nailing. Choose materials that fit your room’s style—MDF or PVC for damp areas, and hardwood for staining. For tight corners, cope them inside. Use adhesive and brads on hollow baseboards to avoid squeaks and gaps.
Now, get your tools and materials ready. Practice on scrap molding and start with a small project to build your confidence. Check local building codes or landlord rules before starting. Follow this guide, and you’ll end up with a clean, lasting finish.
FAQ
What is quarter round and where is it typically used?
Quarter round is a molding with a 1/4-circle profile. It covers expansion gaps and hides uneven seams. It’s used with various floors, around cabinets, and stair noses.
Materials include pine, poplar, oak, MDF, and PVC. These are chosen based on the area’s moisture level.
Why is installing quarter round a good beginner DIY project?
It’s great for beginners because it involves short lengths and simple cuts. It teaches important skills like measuring and nailing.
It’s affordable, and small rooms can be done in a few hours. Mistakes are easy to fix.
What tools and materials do I need to install quarter round?
You’ll need a miter saw, coping saw, tape measure, and brad/finish nailer. Also, a utility knife, sanding block, and caulking gun.
Materials include quarter round, brad nails, construction adhesive, and caulk. You’ll also need wood filler, primer, paint, and polyurethane. Safety glasses and a dust mask are essential.
How do I measure walls and calculate how much molding to buy?
Measure each wall run with a 25-ft tape. Record lengths to the nearest 1/8″. Add 10–15% for waste.
Standard molding lengths are 8′ and 16′. Choose lengths to minimize visible joints. Label each piece for each wall.
Should I cope or miter inside corners, and when is each method best?
Coping fits tightly on inside corners. It’s best for walls that settle or have slight irregularities. Mitering is faster and works well on stable walls.
Beginners should miter on stable walls. Learn coping for tricky corners.
How do I make accurate miter cuts on a miter saw for quarter round?
Set the saw to 45° for standard corners. Place the finished face down on the saw table. Test cuts on scrap.
Confirm blade alignment and use a stop block for repeatable lengths. For outside corners, use short “return” pieces for a cleaner look.
What’s the recommended nailing pattern and fastener type?
Use 18-gauge 1-1/4″ brad nails for painted quarter round. For hardwood, use 15–16 gauge 1-5/8″ finish nails. Space fasteners 12–16 inches apart, closer near corners and doorways.
Nail into the baseboard at a slight angle for better holding. Pre-drill or use a nail set for hardwood to avoid splitting.
Can I use construction adhesive instead of nails?
Construction adhesive is useful where nailing is limited. Apply a bead to the back of the molding and press into place. Use clamps or brads to hold while the adhesive cures.
Adhesive alone is not recommended in high-traffic or moisture-prone areas. Combining adhesive with brads or finish nails gives the most secure result.
How do I finish seams, fill nail holes, and paint quarter round?
Fill nail holes with painter’s putty or wood filler. Caulk the top edge where the molding meets the baseboard. Sand filler and caulk lightly, then wipe with a tack cloth.
Prime any bare wood or MDF, then paint or stain. For stained wood, use matching stain and protect with polyurethane.
How do I deal with uneven floors or gaps between the baseboard and floor?
For hairline gaps, use acrylic caulk. Larger gaps may require scribing the quarter round to match the floor contour. Place thin shims and secure them with adhesive before nailing.
If the baseboard is loose, reattach or secure it first. For very uneven floors, coping or back-beveling and careful packing will produce a neater finish.
What are common problems and how do I fix them (warped molding, miscuts, visible seams)?
Small gaps and seams can be filled with paintable caulk or color-matched wood filler. Warped molding can be moistened and clamped to a straight form. If it remains warped, replace it with kiln-dried wood, MDF, or PVC.
Miscuts can be spliced with a scarf joint or added discreetly behind furniture. Stagger joints away from focal areas to hide seams.
What safety precautions should I follow when cutting and installing quarter round?
Wear ANSI-rated safety glasses, hearing protection, and a dust mask—essential when cutting MDF or painted molding. Use push sticks for short cuts on power saws.
Keep fingers away from blades and follow nail gun safety. Never point it at your body, keep the safety engaged when not in use, and disconnect air or battery when changing tips or clearing jams. Ensure good ventilation and stable sawhorses for cutting.
How long will a typical quarter round project take and how much will it cost?
A typical 12′ x 12′ room can take 2–6 hours for a beginner. Materials cost –0, depending on species and paint. Tool rental (miter saw or brad nailer) is roughly – per day.
Allow extra time for cutting, dry-fitting, caulking, and paint drying.
Which materials should I choose: pine, MDF, oak, or PVC?
Choose based on finish and environment. Pine and poplar are affordable and paint well. Oak or maple are best for stained installations.
MDF offers a smooth painted surface at low cost but swells with moisture. Use primer and paint. PVC or flexible vinyl is best for bathrooms or moisture-prone areas because it resists rot and swelling.
Any tips to make installation easier and more professional-looking?
Dry-fit and label every piece before nailing. Stagger seams away from doorways and focal points. Cope inside corners for the tightest fit on irregular walls.
Use a combination of adhesive and brads on hollow substrates. Tool caulk neatly and sand filler smoothly before painting. Keep nails countersunk and filled for a seamless finish. Regularly clean dust and debris to maintain precise fits.
